For developers
The bus on your map.
This is what you need to show the bus in your app: the marker that follows your line, and the form it takes at every zoom. The line, the camera and the positions are yours. Linjeliv draws the bus, today in the journey planners of five Swedish regions.
How to get access
The packages are not available for download. Get in touch, and we send them to you as files, with instructions for adding them to the app or to your own registry, such as Azure Artifacts.
What you get
@pixelpappa/linjeliv-react-native, the adapter for react-native-maps, on Apple Maps (iOS) and Google Maps (Android): the vehicle as an arrow zoomed out and as itself zoomed in, with the transformation between them. The core comes with it.@pixelpappa/linjeliv-core, the core. Platform-neutral TypeScript without the DOM or React Native. It works out the arrow's and the bus's form, the arrow's style and the smoothed position.- Marker pictures of all 17 vehicles, each both as itself and as a toy for kids mode: the buses, the articulated bus, the minibus, the truck, the cars, the train, the railbus, the ferry, the bikes, the e-scooter, the airplane and the helicopter. The articulated bus is three sets: the front section, the bellows and the rear section. Each in 32 headings and three angles, a small image per heading with the white outline baked in, and with a colour layer so that the app sets the vehicle's colour. About 1 to 5 MB per vehicle, the ferry 7 MB. The package fetches them from here, the angle the map is seen from first, and keeps them in the phone's cache. Only the images on show are held in memory.
Latest version: 0.6.4, 5 November 2026.
New in 0.6.4
- The articulated bus's parts stay joined in curves too. The joints are laid out by the picture each part actually shows.
From 0.6.3 no code needs to change, and the images are the same.
All earlier versions
0.6.3, 19 November 2026
The articulated bus's white edge goes round the whole bus, the bellows reach under the sections, and on Android no parts vanish while zooming.
0.6.2, 18 November 2026
The articulated bus turns only as it rolls and no longer folds up. The bellows hold together in the turns.
0.6.1, 18 November 2026
The articulated bus's parts stay joined: before, the rear section and the bellows could stand half a metre to the side.
0.6.0, 5 November 2026
The articulated bus and its toy, marker pictures of all 17 vehicles, role and hint for screen readers, a real button for TalkBack and a new reading when the map does not answer.
0.5.0, 30 October 2026
Less memory: a small image per heading with the white outline baked in. A faster marker on Google Maps, the arrow and the chevron as images without Skia, onPress and TalkBack.
0.4.0, 29 October 2026
The transformation: the arrow slides forward and becomes the chevron as the bus grows in. Playback behind the feed, so the bus moves evenly along the line (createPlaybackSmoother).
0.3.0, 29 October 2026
Google Maps on Android, and four more vehicles: the regional bus, the railbus, the train and the ferry.
0.2.0, 28 October 2026
The colour as a setting, the sturdier bus, the chevron ahead of the nose and smaller images.
0.1.0, 28 October 2026
The first version: the arrow, the city bus and the toy bus.
# the two files you get from us, in the app's vendor/
npm install ./vendor/pixelpappa-linjeliv-*.tgz

# and if the app does not have them yet
npm install react-native-maps
cd ios && pod installimport { VehicleLayer, createPoseSmoother, useSprites } from "@pixelpappa/linjeliv-react-native";
// Once: the bus's smoothed position. Your feed sends each new one.
const bus = createPoseSmoother();
feed.on("vehicle", (v) =>
bus.push({ lngLat: [v.lon, v.lat], bearing: v.bearing }, performance.now()));
// On the map: an arrow zoomed out, the bus zoomed in. The pictures are fetched
// from here; until they are in, the marker is the arrow.
const sprites = useSprites("bus");
<VehicleLayer ref={layer} map={map} smoother={bus} sprites={sprites}
length={12.11} width={2.55} colour="#00943c" running={appActive}
accessibilityLabel={label} onPress={followBus} />The marker at every zoom
Zoomed out, the bus is drawn as an arrow. Once its real length can be read on the screen, the bus takes over. The hand-over is a short transformation: the arrow slides forward and becomes the chevron ahead of the nose while the bus grows in, and it always runs to the end, so two half markers are never seen. The thresholds are counted in the bus's length on the screen, so the same figures work on every map and screen. Zoomed in, the bus is never drawn shorter than 96 pt, and when enlarged a little shorter and just as wide, with a chevron ahead of its nose that shows where it is going. Closer in, it gets its real size and shape. This is changed with zoom: minLength, stout and pointer.
| Scale (12 m bus, flat map) | The marker |
|---|---|
| Zoomed out, for example 8 m/pt | Arrow, 28 pt |
| City, 0.75 m/pt | Arrow, about 33 pt |
| Around 0.55 m/pt | The hand-over: in 0.25 s the arrow slides forward and becomes the chevron while the bus grows in |
| Street level, below 0.46 m/pt | The bus, enlarged to at least 96 pt and with a chevron; at its real size closer in |
const form = zoomForm(metresPerPoint, camera.pitch, vehicle.length);
form.mix             // 0 = arrow only, 1 = bus only
form.arrowSize       // the arrow's box in points
form.arrowOpacity
form.vehicleScale    // times the bus's real size
form.vehicleOpacity

// The arrow turns the way the bus picture points, on a tilted map too.
const rotation = projectedHeading(screenHeading(pose.bearing, camera.heading), camera.pitch);
The arrow
By default it is a black navigation arrow with a white border and a soft shadow. The line and the stops already carry the colour. You can recolour the arrow, change its shape or give it an SVG path of your own. The arrow and the chevron come with the package as images, so the app does not need Skia. Only an SVG path of your own is drawn with Skia, if the app has it.
resolveArrowStyle();                                   // black with a white border
resolveArrowStyle({ fill: "#e4003a", borderColor: "#fff" });   // recoloured, in code
resolveArrowStyle({ appearance: "auto" }, "dark");      // a white arrow on a dark map
resolveArrowStyle({ shape: "M22 6 L36 37 L22 30 L8 37 Z" });   // your own shape
// => { path, fill, borderColor, borderWidth, shadow }
Position and heading
Send in every new position from your feed. The smoother glides towards it, turns the heading the short way round and jumps if the bus has moved too far. It never guesses. If the feed sends a position every few seconds, playback plays it a few seconds behind reality, at an even pace along the line, so the bus does not stand still and rush. The package does not control the camera: your follow mode reads the same point that is drawn.
const bus = createPoseSmoother();   // { positionTau: 0.12, bearingTau: 0.25, snapDistance: 150 }

feed.on("vehicle", (v) =>
  bus.push({ lngLat: [v.lon, v.lat], bearing: v.bearing }, performance.now()));

const pose = bus.advance(performance.now());               // every frame
bus.subscribe((pose) => myCamera.follow(pose.lngLat, pose.bearing));

// A sparse feed: play it back a few seconds later, at an even pace along the line.
const bus = createPlaybackSmoother({ route: createPolyline(shape) });   // the same push and advance
The bus as a picture
Maps whose markers always face the screen, such as Apple Maps, get a picture for each heading and tilt. The bus is drawn at an angle from above even when the map is not tilted, so that it reads as a bus and not as a rectangle.
const seen = viewPitch(camera.pitch);                  // never flatter than 30°
const { lower, upper, t } = blendPitches(sprites.pitches, seen);
// Draw the picture for lower; if t > 0, fade over to upper with weight t.

const pick = pickSprite(sprites, screenHeading(pose.bearing, camera.heading), seen);
// => { heading: 0 .. 31, pitch }
Optional: modes and effects
Kids mode and effects such as snow are variants the user chooses. If there is only one variant of a kind, no control is shown. The choice is saved, and Reset to default removes it. The effects are not shown when the user has chosen Reduce Motion.
const registry = createVariantRegistry()
  .defineKind({ kind: "effect", label: "Effect" })
  .register({ kind: "effect", id: "none", label: "None", isDefault: true })
  .register({ kind: "effect", id: "snow", label: "Snow" });

const selection = createSelectionStore({ registry, storage });
registry.controls();               // the kinds that get a control
selection.select("effect", "snow");
selection.reset();                 // Reset to default
3D on the web map
On the web, VehicleLayer draws the vehicle in 3D in MapLibre, with doors that open and wheels that roll. It is the layer the map demo uses. It will be packaged after the app's marker; until then the code is there to look at in the demo.
const bus = new VehicleLayer(VEHICLES.bus);
map.on("style.load", () => map.addLayer(bus));   // added again after a style change
bus.display.colour = "#2d7ff9";                  // body and roof

function frame() {
  bus.state = {
    lngLat: pose.lngLat,
    bearing: pose.bearing,   // compass bearing, degrees clockwise from north
    speed: 8.3,              // m/s, turns the wheels
    steer: 0,                // the front wheels' angle in degrees
    doorsOpen: 0,            // the doors used at a stop, 0 shut .. 1 open
  };
  map.triggerRepaint();
  requestAnimationFrame(frame);
}
requestAnimationFrame(frame);
Field in display | Meaning |
|---|---|
colour | The line colour on the body and the roof |
minLengthPx | The vehicle is never drawn shorter than this on the screen |
compressedLength | Length factor while the vehicle is enlarged, 1 = its real proportions |
tilt | Viewing angle in degrees on a flat map, 0 = straight from above |
pointer | A direction arrow in front of the vehicle |
opacity | For the crossfade with the arrow |
beams | The headlamps' beams, for a dark map |
size | Drawn this many times its size: kids mode's toys are drawn 1.3 times |
Today the 3D mode is built for MapLibre. Other web maps with custom 3D layers have not been tried yet.
Your own wrap
A wrap is made with the template and put on the vehicle in code. No 3D software is needed.
-
Download the template
The template is there for the city bus, the minibus and the regional train, and for the toys in kids mode (city bus, regional bus, minibus and regional train). It holds a layered SVG and a PNG for each sheet, a guide for each island to paint on, the specification in JSON and
apply-wrap.mjs.City bus Minibus Regional train City bus, toy Regional bus, toy Minibus, toy Regional train, toy
-
Paint
Paint straight on the guides in
islands/, or deliver your own pictures for each island at the size given in the template (200 pixels a metre) or as SVG. What is left untouched is not printed, and the windows are never printed. -
Run apply-wrap.mjs
With Node 18 or later, nothing to install (SVG also needs rsvg-convert). The script checks each picture against its island and writes the wrap at film size and at web size,
.web.png, with check pictures inpreviews/.In the template's folder # painted on the guides node apply-wrap.mjs --name var --islands-dir islands # your own pictures, one for each island node apply-wrap.mjs --name var --left left.png --right right.png --front front.png --rear rear.png --roof roof.png # the whole template painted node apply-wrap.mjs --name var --sheet bus_wrap_template_painted.png # every option node apply-wrap.mjs --help -
Point the vehicle at the wrap
Put the
.web.pngfile among the map's files and give it to the vehicle as itslivery. The map layer puts it over the colour when the model loads. The regional train has a sheet for each car:{sheet}in the address stands for c1, c2 and so on. The map shows a shorter train unit without a wrap, so the train's wrap shows in the configurator and in film.The wrap on the vehicle // on the map: the wrap as the vehicle's livery const bus = new VehicleLayer({ ...VEHICLES.bus, livery: "/dekor/livery_bus_var.web.png" }); // in a three.js scene of your own, with the vehicle's rig await rig.setLivery("/dekor/livery_bus_var.web.png"); await train.setLivery("/dekor/livery_train_var_{sheet}.web.png");
The vehicles in code
Every vehicle's id, the doors that open at a stop, the options, the files and the material slots. The material slots are the names in the model, the same in all three formats; what takes the line colour is set in code.
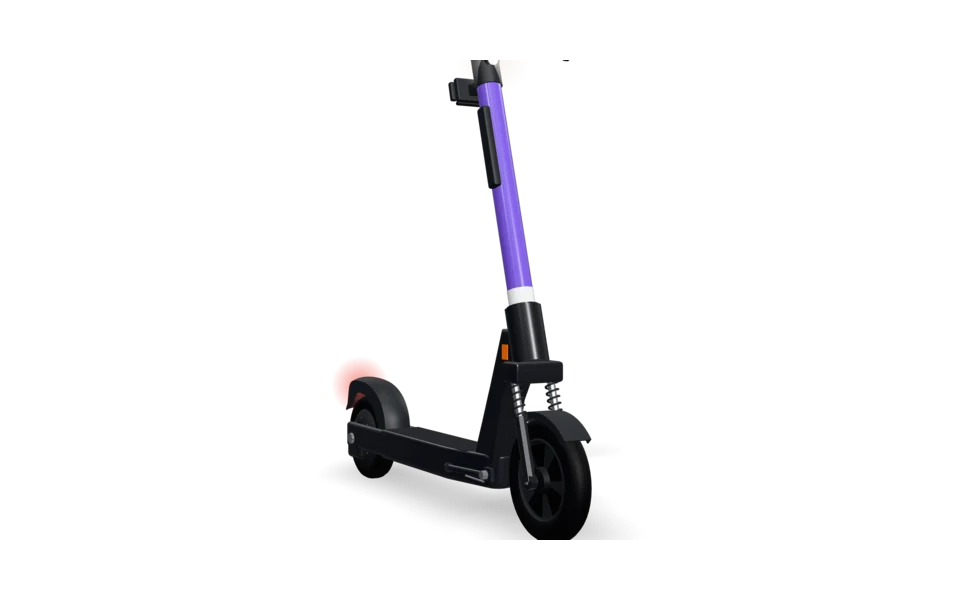
E-scooter scooter
- Id
scooter- Doors at a stop
kickstand- Files
scooter_lod0.glbscooter_lod1.web.glbscooter_lod2.glb- The toy
scooter_toy_lod0.glbscooter_toy_lod1.web.glbscooter_toy_lod2.glb
Material slots
- body The paint: the stem
- trim The footboard, the head tube, the rear mudguard, the fork, the handlebars, the grips, the controls, the stand and the front mudguard
- door Bright metal: the fork's tubes, axles and bolts
- wheel Tyres and rims, the hub motor at the rear
- headlight The front lamp, can be lit
- taillight The rear lamp, can be lit
- plate The blank QR plate, the reflectors and the stem's reflective tape
What takes the line colour is set in code. The names are the same in all three formats.
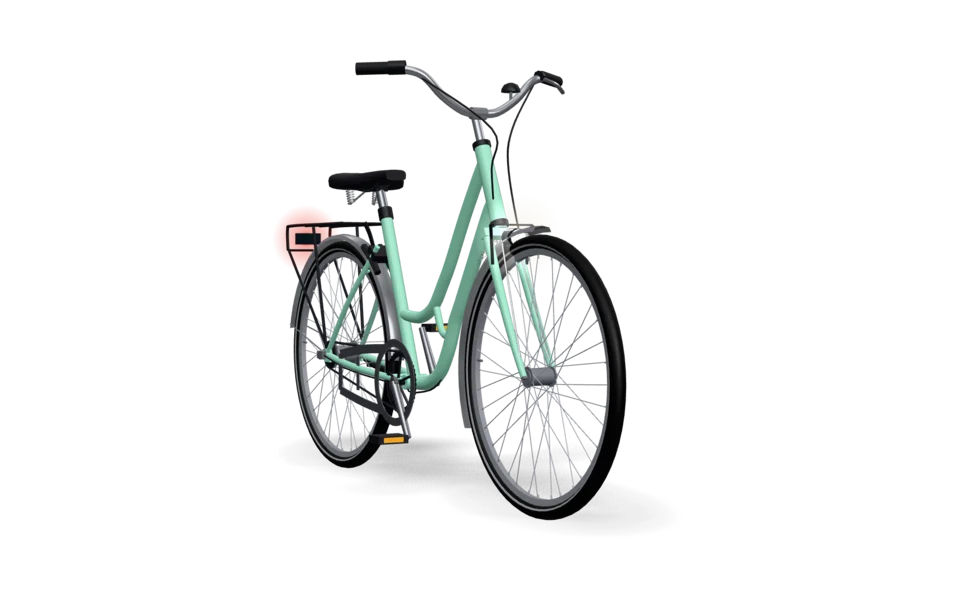
City bike bicycle
- Id
bicycle- Doors at a stop
kickstand- Files
bicycle_lod0.glbbicycle_lod1.web.glbbicycle_lod2.glb- The toy
bicycle_toy_lod0.glbbicycle_toy_lod1.web.glbbicycle_toy_lod2.glb
Material slots
- body The frame and the fork
- wheel Tyres, rims, spokes and hubs
- plate Mudguards, handlebars, chain guard and the cranks
- door Rear rack, stand and brakes
- trim Saddle, grips, pedals and chain
- headlight The front lamp, can be lit
- taillight The rear lamp, can be lit
- indicator The pedal reflectors
- glass The lamps' housings
What takes the line colour is set in code. The names are the same in all three formats.
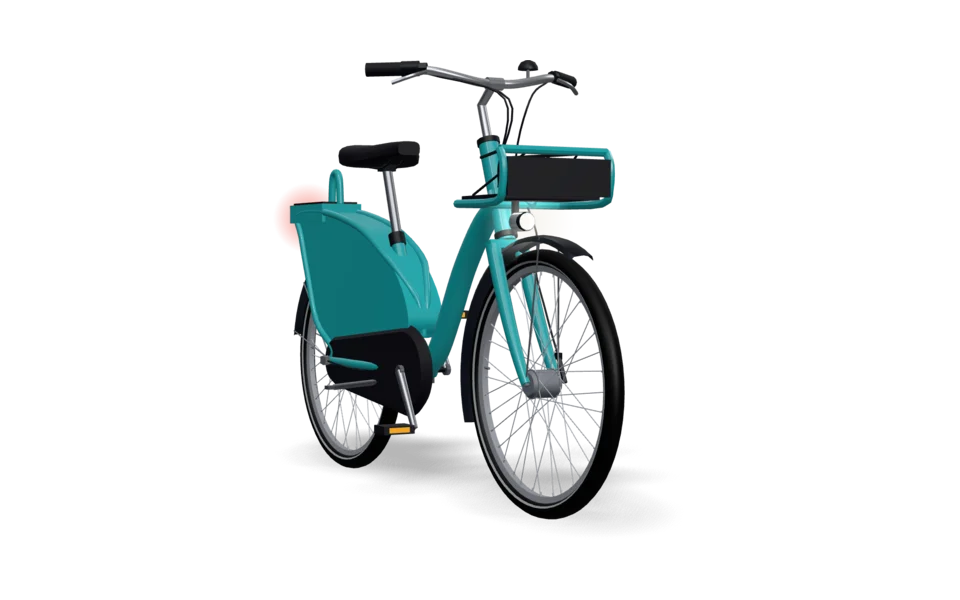
Shared bike citybike
- Id
citybike- Doors at a stop
kickstand- Files
citybike_lod0.glbcitybike_lod1.web.glbcitybike_lod2.glb- The toy
citybike_toy_lod0.glbcitybike_toy_lod1.web.glbcitybike_toy_lod2.glb
Material slots
- body The frame, the fork and the basket's tubes
- roof The rear plate, the lock box and the basket's sign
- wheel Tyres, rims, spokes and hubs
- plate Mudguards, handlebars and the cranks
- door Brakes and chainring
- trim Saddle, grips, pedals, chain guard and the basket's floor
- headlight The front lamp, can be lit
- taillight The rear lamp, can be lit
- indicator The pedal reflectors
- glass The lamp's housing
What takes the line colour is set in code. The names are the same in all three formats.
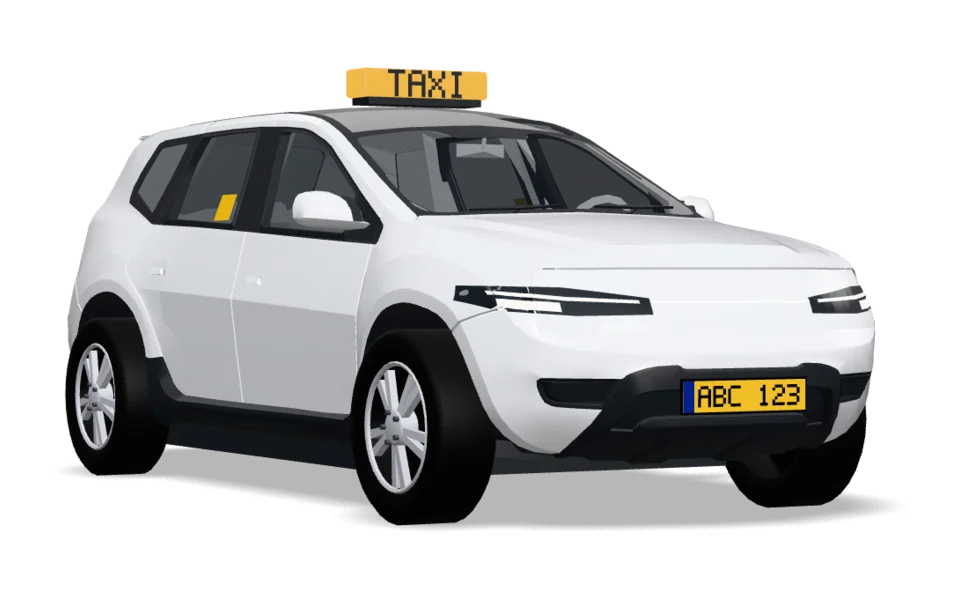
Taxi taxi
- Id
taxi- Doors at a stop
door_rear_r- Files
taxi_lod0.glbtaxi_lod1.web.glbtaxi_lod2.glb- The toy
taxi_toy_lod0.glbtaxi_toy_lod1.web.glbtaxi_toy_lod2.glb
Material slots
- body The paint
- glass All windows
- wheel Tyres and rims
- headlight Headlamps, can be lit
- taillight Rear lamps, can be lit
- trim Grille, trims, the mirrors' bases, the bumpers' lower parts and sills
- interior Seats, floor, dashboard and steering wheel
- plate Yellow taxi plates and the fare labels
- sign The roof sign, lit
What takes the line colour is set in code. The names are the same in all three formats.
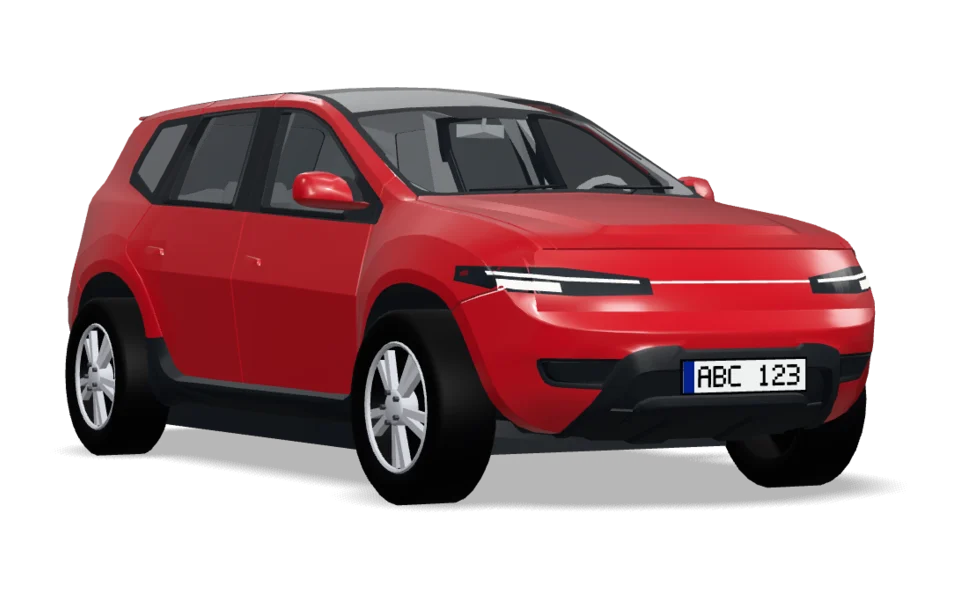
Crossover ev
- Id
ev- Doors at a stop
door_front_l- Files
car_c_lod0.glbcar_c_lod1.web.glbcar_c_lod2.glb- The toy
car_c_toy_lod0.glbcar_c_toy_lod1.web.glbcar_c_toy_lod2.glb
Material slots
- body The paint
- glass Windows and the glass roof
- wheel Tyres and rims
- headlight Headlamps, can be lit
- taillight Rear lamps, can be lit
- trim Grille, trims, the mirrors' bases, the bumpers' lower parts and sills
- interior Seats, floor, dashboard and steering wheel
- plate Number plates
What takes the line colour is set in code. The names are the same in all three formats.
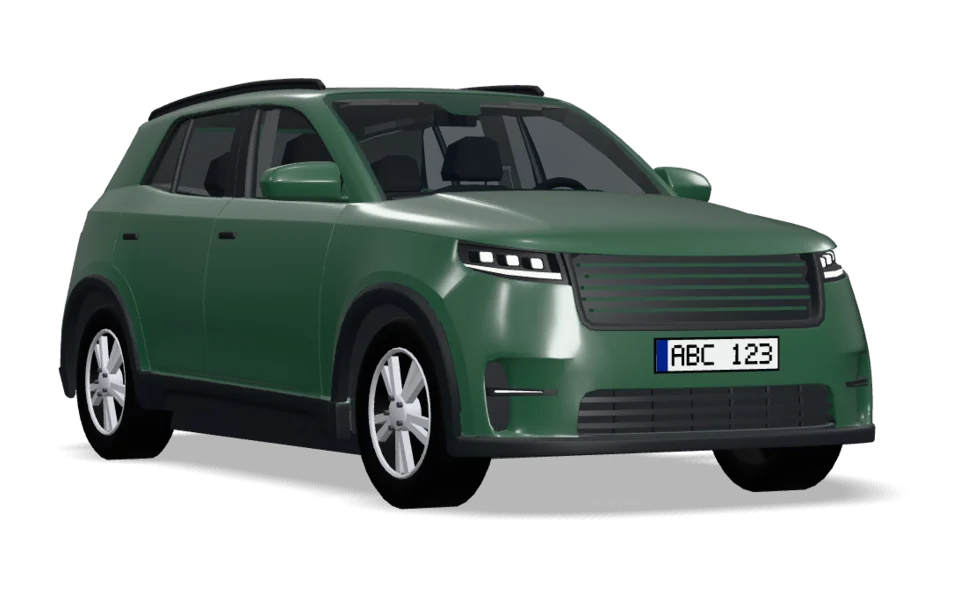
SUV suv
- Id
suv- Doors at a stop
door_front_l- Files
car_b_lod0.glbcar_b_lod1.web.glbcar_b_lod2.glb- The toy
car_b_toy_lod0.glbcar_b_toy_lod1.web.glbcar_b_toy_lod2.glb
Material slots
- body The paint
- glass All windows
- wheel Tyres and rims
- headlight Headlamps, can be lit
- taillight Rear lamps, can be lit
- trim Grille, trims, the mirrors' bases, the bumpers' lower parts and sills
- interior Seats, floor, dashboard and steering wheel
- plate Number plates
What takes the line colour is set in code. The names are the same in all three formats.
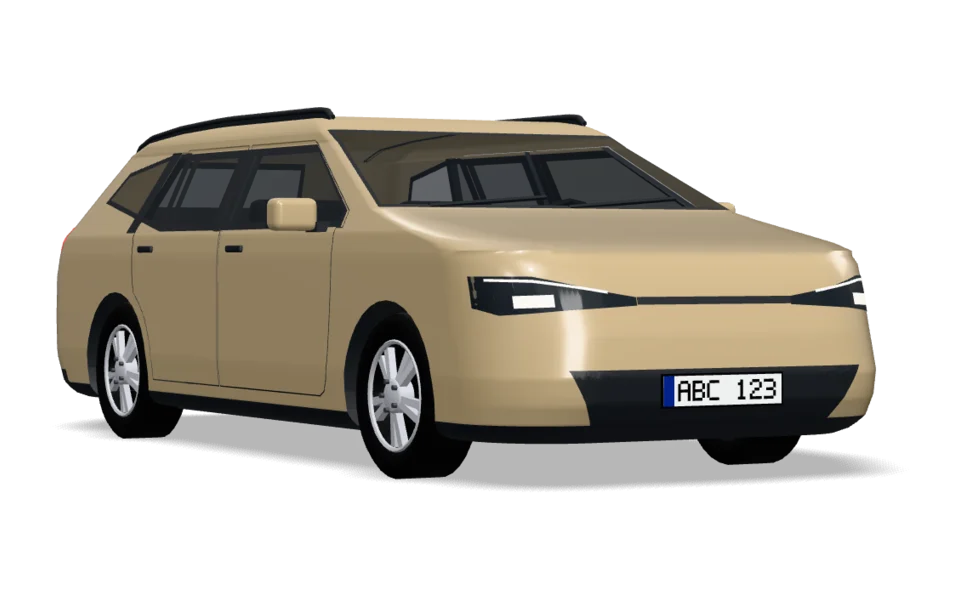
Estate estate
- Id
estate- Doors at a stop
door_front_l- Files
car_a_lod0.glbcar_a_lod1.web.glbcar_a_lod2.glb- The toy
car_a_toy_lod0.glbcar_a_toy_lod1.web.glbcar_a_toy_lod2.glb
Material slots
- body The paint
- roof The roof
- glass All windows
- wheel Tyres and rims
- headlight Headlamps, can be lit
- taillight Rear lamps, can be lit
- trim Grille, trims, the mirrors' bases, the bumpers' lower parts and sills
- interior Seats, floor, dashboard and steering wheel
- plate Number plates
What takes the line colour is set in code. The names are the same in all three formats.
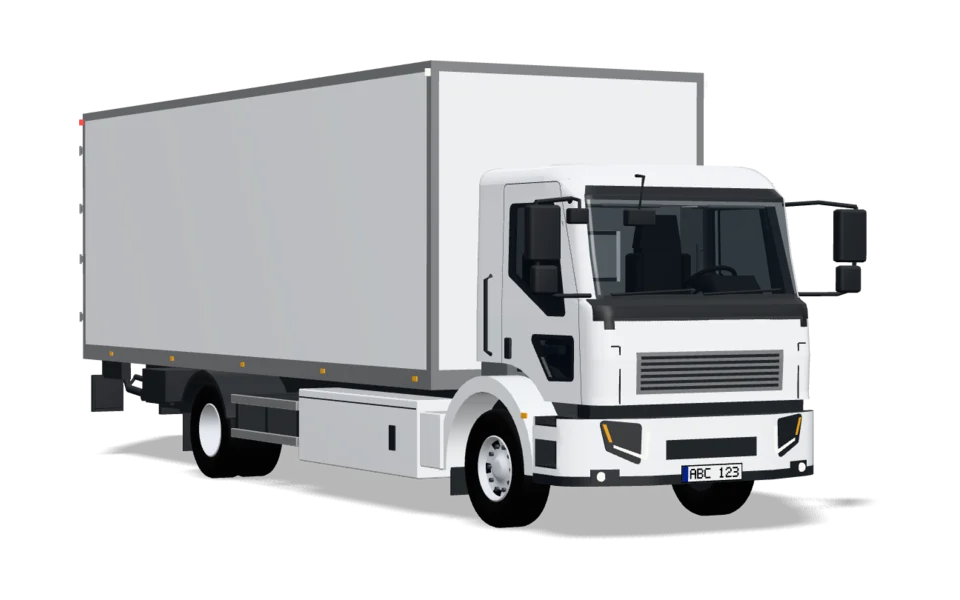
Delivery truck truck
- Id
truck- Doors at a stop
door_front_l- Files
truck_lod0.glbtruck_lod1.web.glbtruck_lod2.glb- The toy
truck_toy_lod0.glbtruck_toy_lod1.web.glbtruck_toy_lod2.glb
Material slots
- body The cab and the box's sides, front and rear doors
- roof The box's and the cab's roofs
- glass All windows
- door Aluminium profiles, side guards and the lift platform
- wheel Tyres and rims
- headlight Headlamps and fog lamps, can be lit
- taillight Rear lamps, can be lit
- trim The bumper's lower part, the steps, mirrors, chassis and lift arms
- interior The cab's interior and the inside of the box
- indicator Indicators and side markers
- plate Number plates and the lift's warning flags
What takes the line colour is set in code. The names are the same in all three formats.
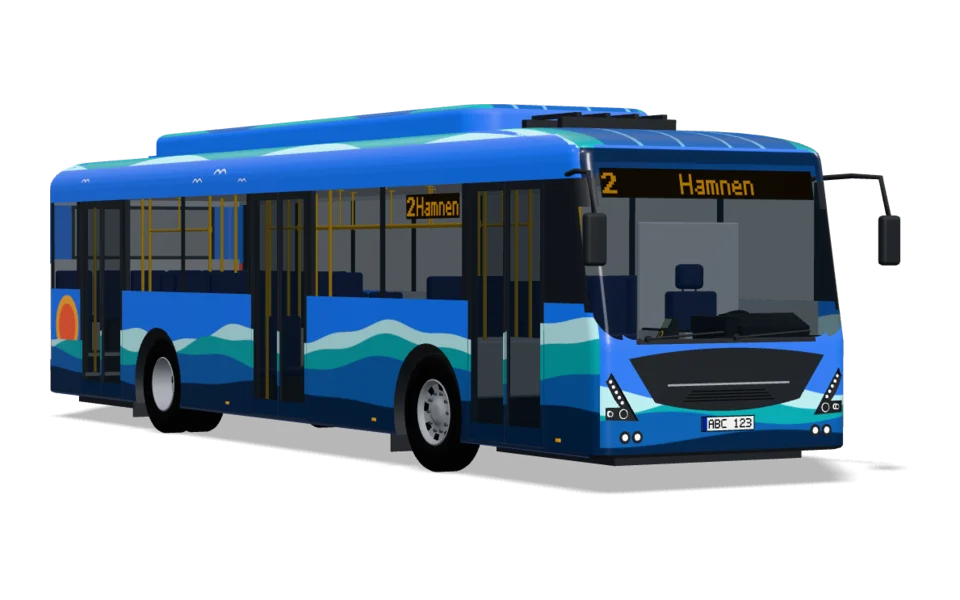
City bus bus
- Id
bus- Doors at a stop
door_1_rdoor_1_ldoor_2_rdoor_2_ldoor_3_rdoor_3_l- Files
bus_lod0.glbbus_lod1.web.glbbus_lod2.glb- The toy
bus_toy_lod0.glbbus_toy_lod1.web.glbbus_toy_lod2.glb
Material slots
- body Painted sides, front and rear
- roof The roof and the battery boxes
- glass All windows
- door Door leaves
- wheel Tyres and rims
- headlight Headlamps, can be lit
- taillight Rear lamps, can be lit
- trim Bumpers, trims, mirrors, underbody
- sign Destination sign, lit
- interior Seats, floor and yellow poles
- indicator Indicators and side markers
- plate Number plates
What takes the line colour is set in code. The names are the same in all three formats.
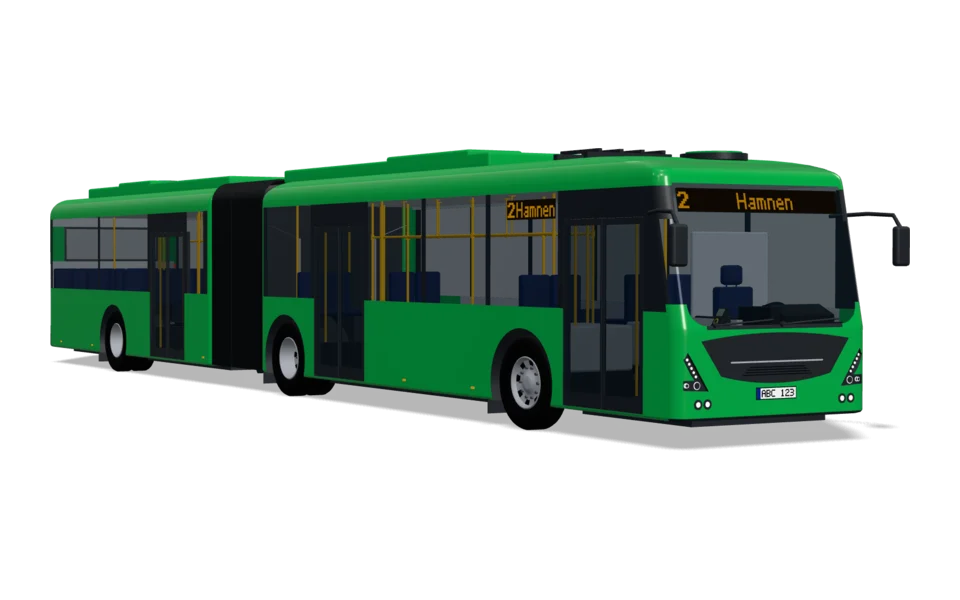
Articulated bus articulated
- Id
articulated- Doors at a stop
door_1_rdoor_1_ldoor_2_rdoor_2_ldoor_3_rdoor_3_l- Files
articulated_lod0.glbarticulated_lod1.web.glbarticulated_lod2.glb- The toy
articulated_toy_lod0.glbarticulated_toy_lod1.web.glbarticulated_toy_lod2.glb
Material slots
- body Painted sides, front and rear
- roof The roof, the side fairings, the battery lids and the fan units
- glass All windows
- door Door leaves
- wheel Tyres, wheels and the bellows
- headlight Headlamps, can be lit
- taillight Rear lamps, can be lit
- trim Bumpers, trims, mirrors, underbody and the turntable
- sign Destination signs, lit
- interior Seats, floor and yellow poles
- indicator Indicators and side markers
- plate Number plates
What takes the line colour is set in code. The names are the same in all three formats.
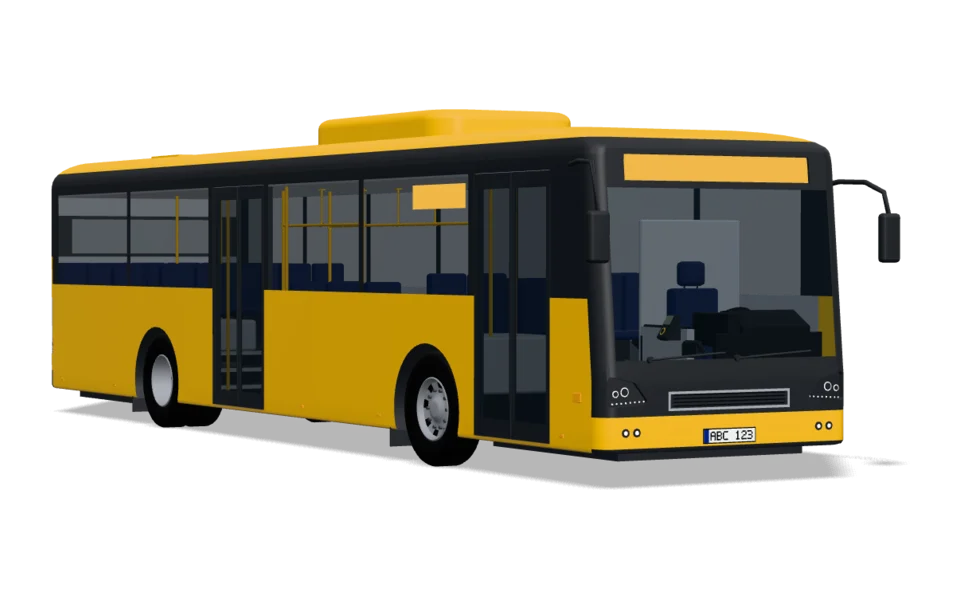
Regional bus regional
- Id
regional- Doors at a stop
door_1_rdoor_1_ldoor_2_rdoor_2_l- Files
regional_lod0.glbregional_lod1.web.glbregional_lod2.glb- The toy
regional_toy_lod0.glbregional_toy_lod1.web.glbregional_toy_lod2.glb
Material slots
- body Painted sides, front and rear
- roof The roof and the air conditioning
- glass All windows
- door Door leaves
- wheel Tyres and rims
- headlight Headlamps, can be lit
- taillight Rear lamps, can be lit
- trim The front mask, the window band, the rear panel, bumpers and mirrors
- sign Destination signs, lit
- interior Seats, floor and yellow poles
- indicator Indicators and side markers
- plate Number plates
What takes the line colour is set in code. The names are the same in all three formats.
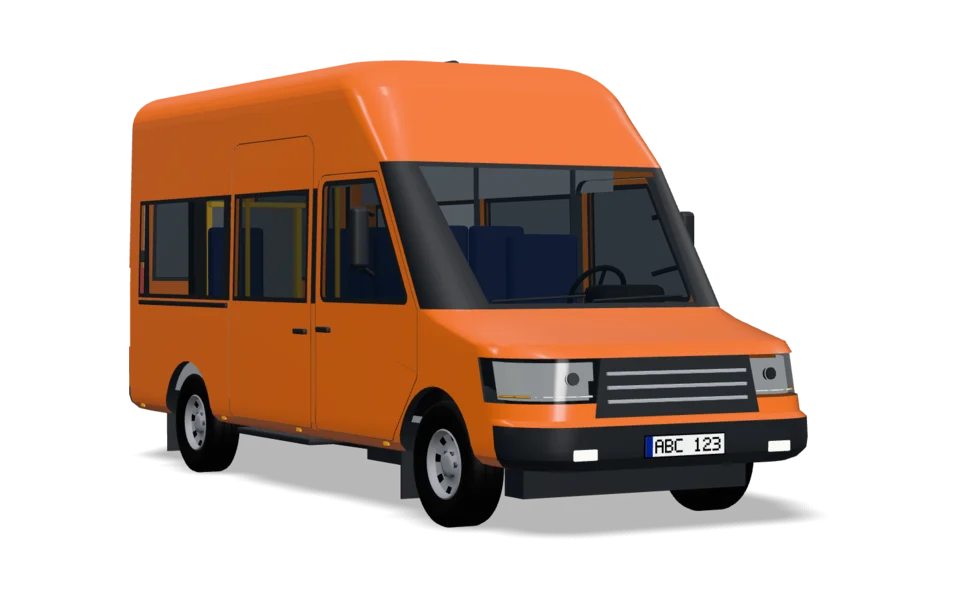
Minibus minibus
- Id
minibus- Doors at a stop
door_slide_r- Options
slide_lSliding door on the left too- Files
minibus_lod0.glbminibus_lod1.web.glbminibus_lod2.glb- The toy
minibus_toy_lod0.glbminibus_toy_lod1.web.glbminibus_toy_lod2.glb
Material slots
- body Painted sides, front and rear
- roof The roof
- glass All windows
- wheel Tyres and rims
- headlight Headlamps, can be lit
- taillight Rear lamps, can be lit
- trim Bumpers, trims, mirrors, underbody and the lift
- interior Seats and floor
- indicator Indicators and side markers
- plate Number plates
What takes the line colour is set in code. The names are the same in all three formats.
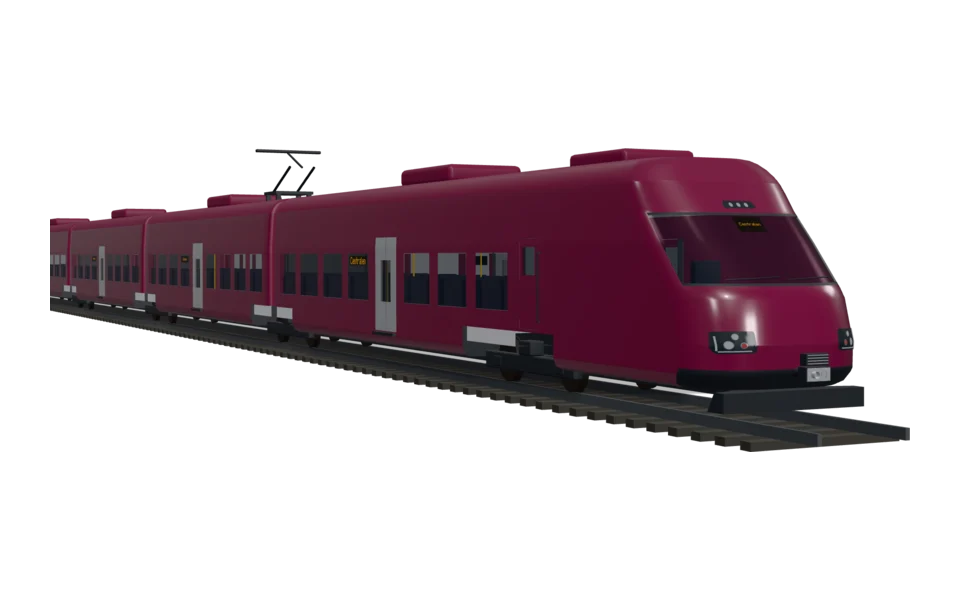
Regional train train
- Id
train- Doors at a stop
door_1r_fdoor_1r_bdoor_2r_fdoor_2r_bdoor_3r_fdoor_3r_bdoor_4r_fdoor_4r_b- Files
train_lod0.glbtrain_lod1.web.glbtrain_lod2.glb- The toy
train_toy_lod0.glbtrain_toy_lod1.web.glbtrain_toy_lod2.glb- On the map
train3_lod1.web.glb, a shorter unit, 60.1 m
Material slots
- body Painted car bodies
- roof The roof and the roof equipment
- glass All windows
- door Stainless steel door leaves
- wheel Wheelsets
- headlight Headlamps, can be lit
- taillight Tail lamps, can be lit
- trim Underbody, bogies, couplers, bellows and pantograph
- sign Destination signs, lit
- interior Seats and floor
What takes the line colour is set in code. The names are the same in all three formats.
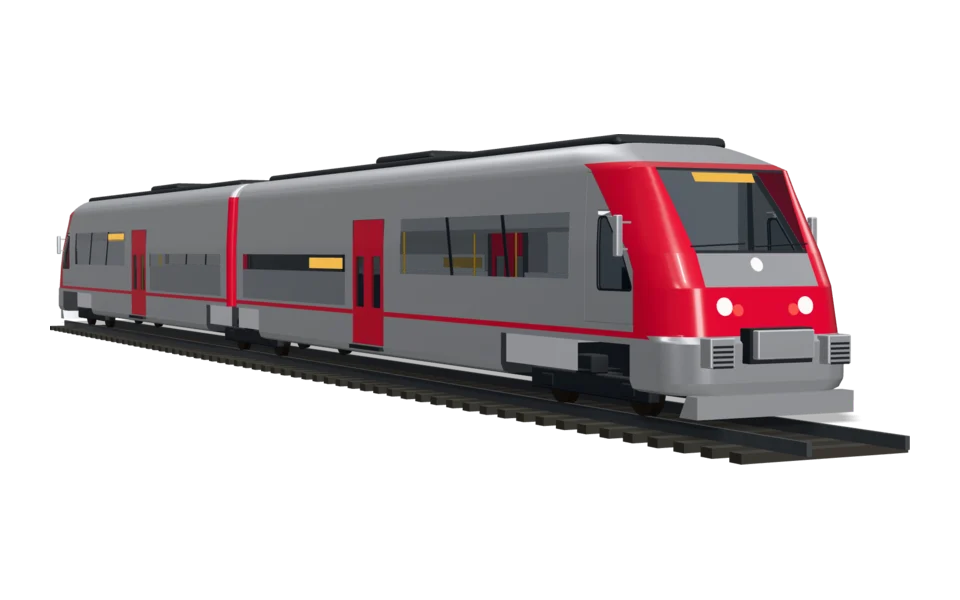
Railcar railbus
- Id
railbus- Doors at a stop
door_1r_fdoor_1r_bdoor_2r_fdoor_2r_b- Files
railbus_lod0.glbrailbus_lod1.web.glbrailbus_lod2.glb- The toy
railbus_toy_lod0.glbrailbus_toy_lod1.web.glbrailbus_toy_lod2.glb
Material slots
- body The line colour: the cab's hood, the band along the roof, the stripe and the doors
- door The silver sides and the grey crumple zone
- glass All windows
- wheel The wheelsets
- headlight Headlamps, can be lit
- taillight Tail lamps, can be lit
- trim The window band, the mask round the windscreen, underbody, bogies and the bellows
- sign The destination sign, lit
- interior Seats and floor
What takes the line colour is set in code. The names are the same in all three formats.
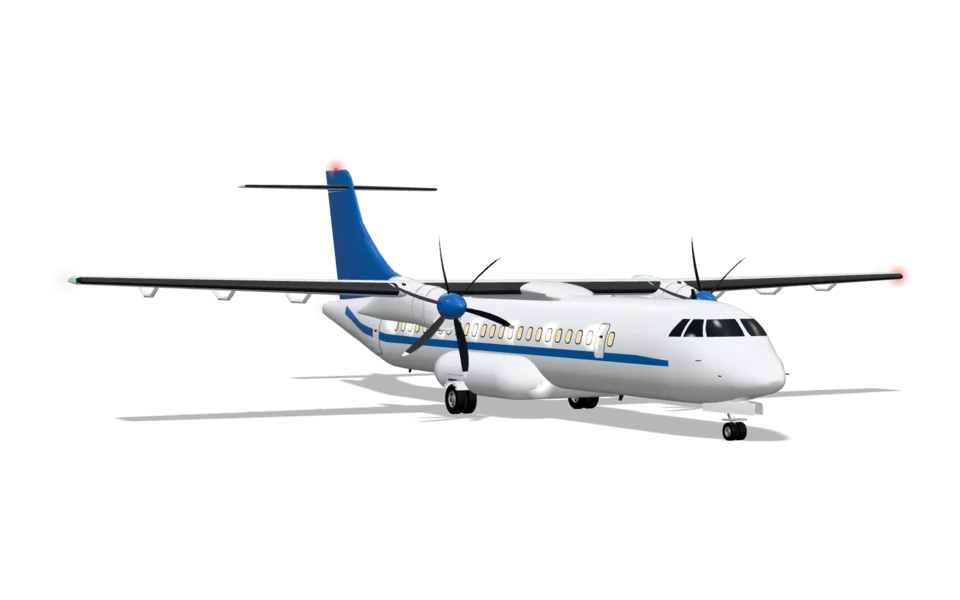
Aeroplane airplane
- Id
airplane- Doors at a stop
door_lhandrail_fhandrail_bhandrail_f_upperhandrail_b_upperhandrail_strut_fhandrail_strut_b- Files
airplane_lod0.glbairplane_lod1.web.glbairplane_lod2.glb- The toy
airplane_toy_lod0.glbairplane_toy_lod1.web.glbairplane_toy_lod2.glb
Material slots
- body The fin, the rudder, the stripe and the spinners, in the line colour
- door The white paint
- glass The cockpit windows
- sign The cabin windows, lit from inside
- wheel Tyres and rims
- trim De-icing boots, propellers and seals
- interior The landing gear's legs
- headlight Landing lights, white navigation lights and strobes, can be lit
- taillight Red navigation light and anti-collision light
- indicator Green navigation light
- plate The airstair: aluminium, black steps with a yellow edge, red and white rails
What takes the line colour is set in code. The names are the same in all three formats.
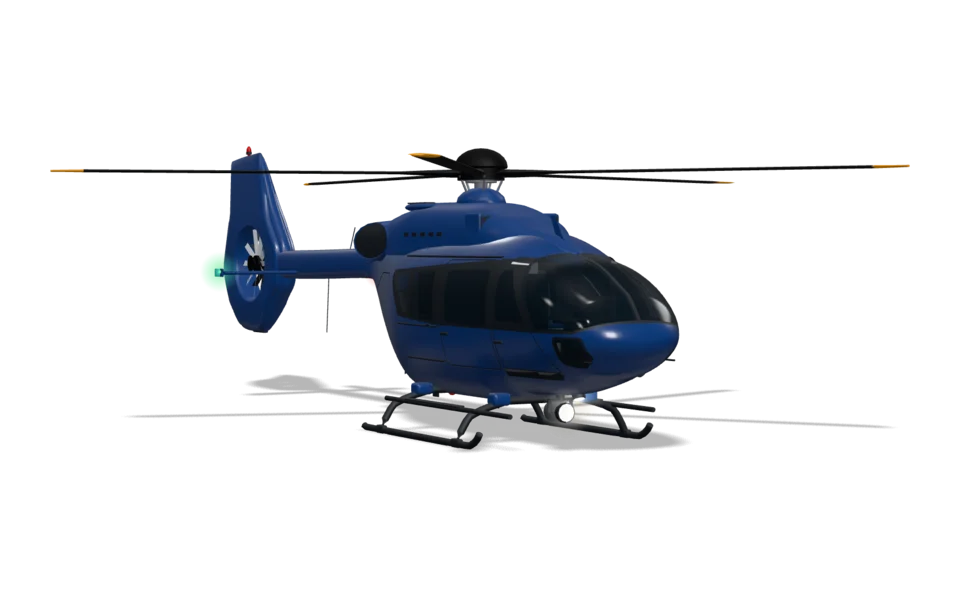
Helicopter helicopter
- Id
helicopter- Doors at a stop
door_slide_ldoor_slide_rdoor_rear_ldoor_rear_r- Files
helicopter_lod0.glbhelicopter_lod1.web.glbhelicopter_lod2.glb- The toy
helicopter_toy_lod0.glbhelicopter_toy_lod1.web.glbhelicopter_toy_lod2.glb
Material slots
- body The body, in the line colour
- roof The engine cowling and the tail rotor's shroud
- glass All windows
- wheel Rotor blades and hub, with yellow tips
- headlight Searchlight, landing light and white position light, can be lit
- taillight Red position light on the left
- sign Green position light on the right
- indicator Red anti-collision lights
- trim Window frames, skids, steps, antennas and exhausts
- interior Seats, stretcher and instrument panel
What takes the line colour is set in code. The names are the same in all three formats.
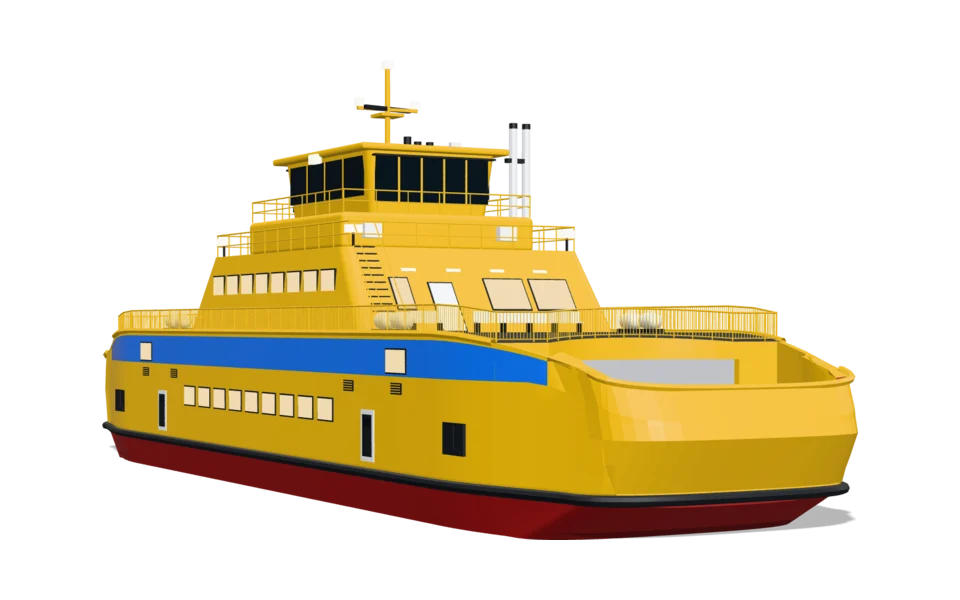
Ferry ferry
- Id
ferry- Doors at a stop
visor_f- Files
ferry_lod0.glbferry_lod1.web.glbferry_lod2.glb- The toy
ferry_toy_lod0.glbferry_toy_lod1.web.glbferry_toy_lod2.glb
Material slots
- body The band along the hull, in the line colour
- door Hull and superstructure, yellow
- wheel The antifouling, red below and just above the waterline
- glass All windows
- interior Railings, stairs, doors and life rafts, white
- trim Fender, decks, mast and exhausts
- headlight Navigation lights and deck lights, can be lit
- taillight Red navigation light
- indicator The rescue boat
- sign The lounge windows, lit from inside
What takes the line colour is set in code. The names are the same in all three formats.
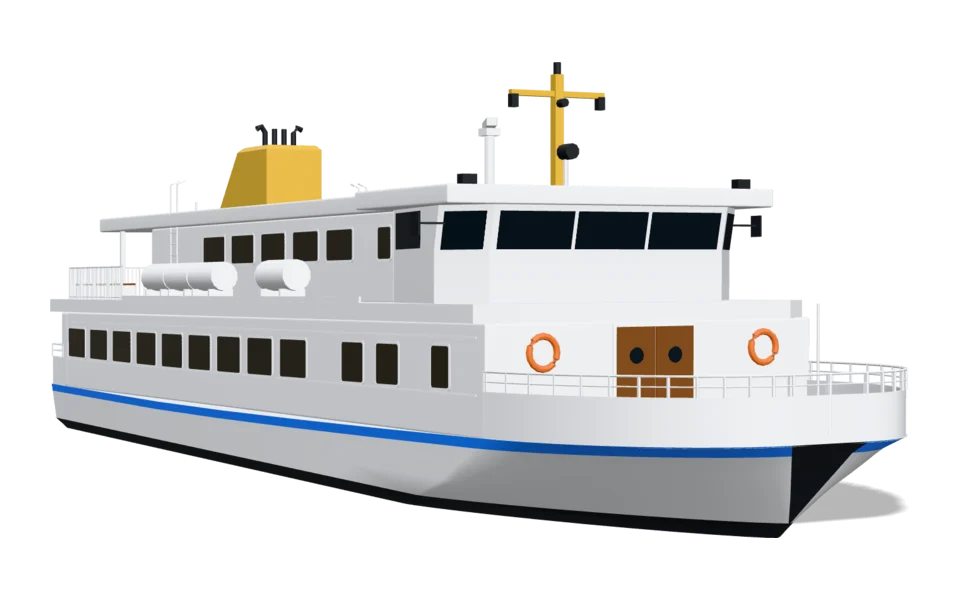
Small car ferry bilfarja_liten
- Id
bilfarja_liten- Doors at a stop
visor_framp_f- Files
bilfarja_liten_lod0.glbbilfarja_liten_lod1.web.glbbilfarja_liten_lod2.glb- The toy
bilfarja_liten_toy_lod0.glbbilfarja_liten_toy_lod1.web.glbbilfarja_liten_toy_lod2.glb
Material slots
- body The dark bands along the side and round the saloon, in the line colour
- roof The hull and the houses, white
- trim The band at the waterline and fittings, dark blue
- wheel The antifouling, red
- plate The decks, blue
- interior Railings, white
- indicator The rescue boat and the life rings
- sign The saloon's windows, lit from inside
- glass The wheelhouse windows
- door Doors
What takes the line colour is set in code. The names are the same in all three formats.
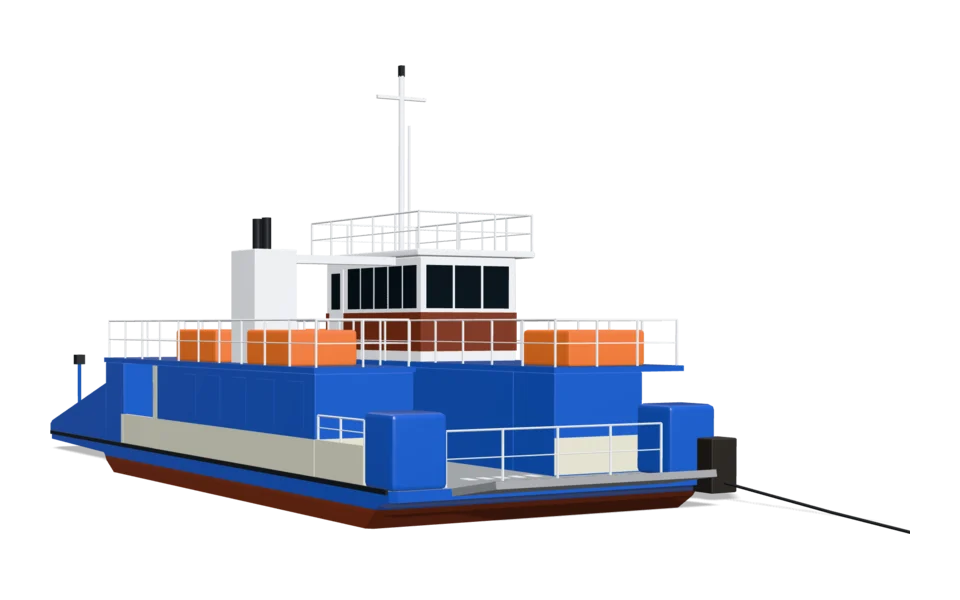
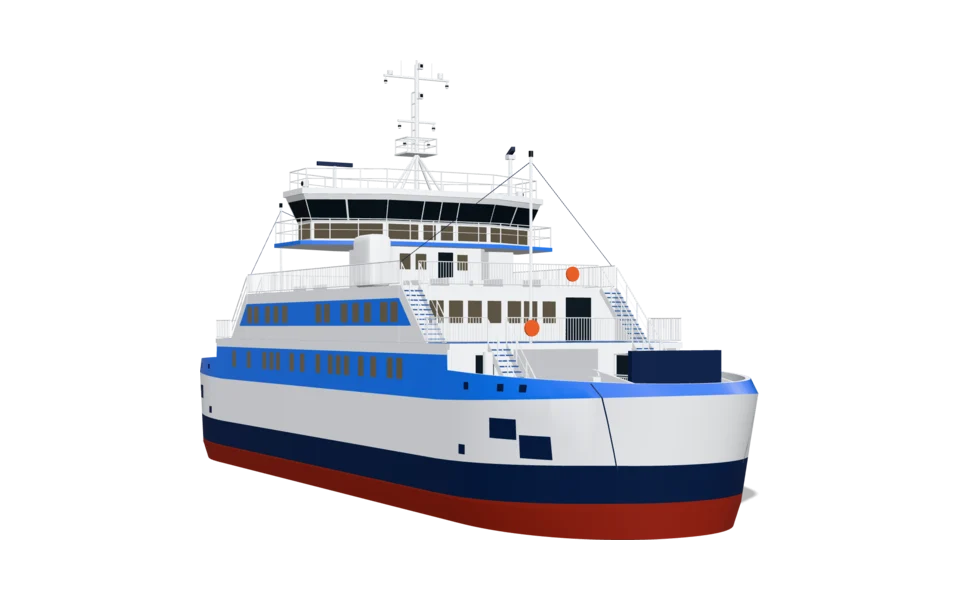
Cable ferry pendelfarja
- Id
pendelfarja- Doors at a stop
ramp_f- Files
pendelfarja_lod0.glbpendelfarja_lod1.web.glbpendelfarja_lod2.glb- The toy
pendelfarja_toy_lod0.glbpendelfarja_toy_lod1.web.glbpendelfarja_toy_lod2.glb
Material slots
- body The hull, the houses and the roofs, royal blue to begin with
- roof The cream band low down
- interior The wheelhouse, the funnel, railings and doors, white
- wheel The antifouling and the teak band under the wheelhouse windows
- plate The deck, grey
- indicator The life rafts' covers and the life rings, orange
- sign The windows, lit from inside
- glass The wheelhouse windows
- trim Strakes, pipes and the cable, black
- door The boxes the cable runs through
What takes the line colour is set in code. The names are the same in all three formats.
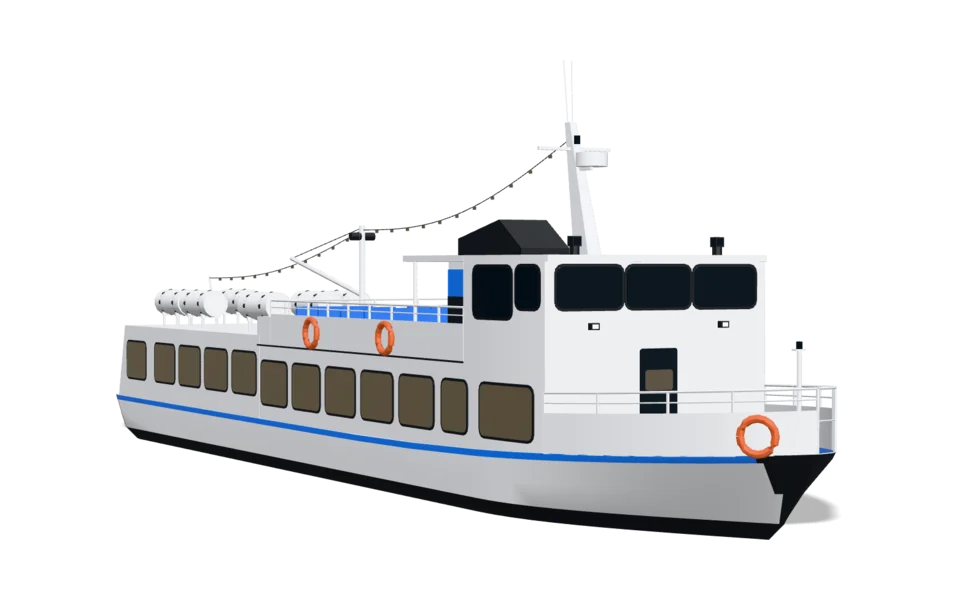
Archipelago boat skargardsbat
- Id
skargardsbat- Doors at a stop
- Files
skargardsbat_lod0.glbskargardsbat_lod1.web.glbskargardsbat_lod2.glb- The toy
skargardsbat_toy_lod0.glbskargardsbat_toy_lod1.web.glbskargardsbat_toy_lod2.glb
Material slots
- body The band along the sides, in the line colour
- roof The hull and the houses, white
- wheel The funnel and the mast, yellow
- trim The black facet at the bow, strakes and fittings
- sign The saloons' windows, lit from inside
- glass The wheelhouse windows
- interior Railings, window frames and life rafts, white
- door Wooden doors and benches
- indicator The life rings, orange
What takes the line colour is set in code. The names are the same in all three formats.
Tour boat turbat
- Id
turbat- Doors at a stop
- Files
turbat_lod0.glbturbat_lod1.web.glbturbat_lod2.glb- The toy
turbat_toy_lod0.glbturbat_toy_lod1.web.glbturbat_toy_lod2.glb
Material slots
- body The band along the gunwale, the foredeck and the stripe on the funnel, in the line colour
- roof The hull and the houses, white
- trim The stem plate, the window frames, the funnel's top and fittings, black
- sign The saloon's windows, lit from inside
- glass The wheelhouse windows
- interior Railings, masts and life rafts, white
- plate The sun deck's floor, grey
- indicator The life rings, orange
- door The door in the front
- headlight Floodlights on the front, can be lit
What takes the line colour is set in code. The names are the same in all three formats.
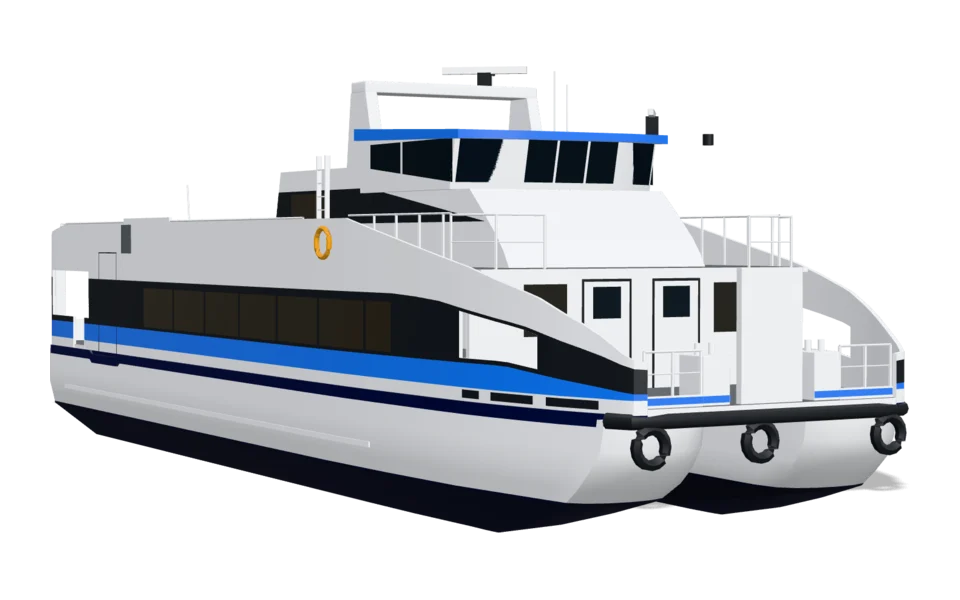
Catamaran katamaran
- Id
katamaran- Doors at a stop
- Files
katamaran_lod0.glbkatamaran_lod1.web.glbkatamaran_lod2.glb- The toy
katamaran_toy_lod0.glbkatamaran_toy_lod1.web.glbkatamaran_toy_lod2.glb
Material slots
- body The band along the side and the wheelhouse's roof edge, in the line colour
- roof The hull and the houses, white
- trim The window band, the fender and fittings, black
- sign The saloon's windows, lit from inside
- glass The wheelhouse windows
- wheel The antifouling, dark blue
- interior Railings
- door The doors in the front
- plate The decks and the navy strake
- indicator The life rings, orange
What takes the line colour is set in code. The names are the same in all three formats.
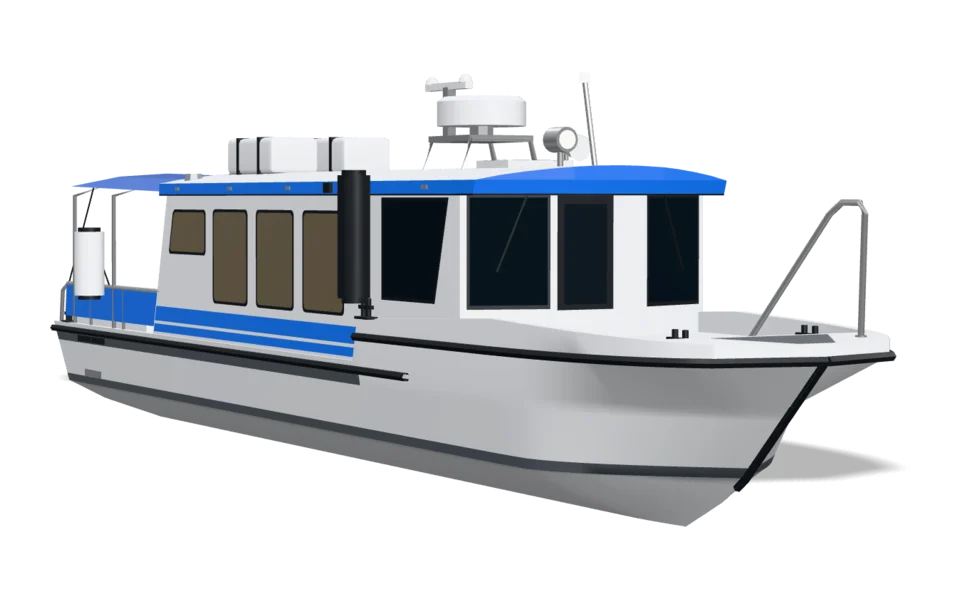
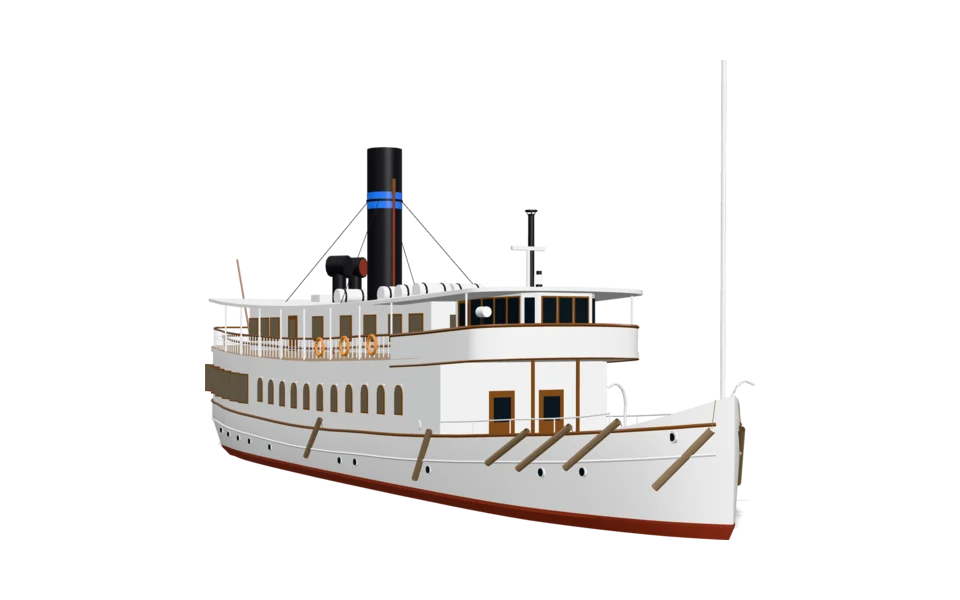
Steamboat angbat
- Id
angbat- Doors at a stop
- Files
angbat_lod0.glbangbat_lod1.web.glbangbat_lod2.glb- The toy
angbat_toy_lod0.glbangbat_toy_lod1.web.glbangbat_toy_lod2.glb
Material slots
- body The ring round the funnel, in the line colour
- roof The hull and the houses, white
- trim The funnel and fittings, black
- door Varnished wood: frames, strakes and rails
- plate The deck planking
- wheel The antifouling, red-brown
- interior Railings, flagstaffs and life rafts, white
- indicator The life rings, orange
- sign The saloon's windows, lit from inside
- glass The wheelhouse windows
- headlight The masthead light and the searchlight, can be lit
What takes the line colour is set in code. The names are the same in all three formats.
Water taxi taxibat
- Id
taxibat- Doors at a stop
- Files
taxibat_lod0.glbtaxibat_lod1.web.glbtaxibat_lod2.glb- The toy
taxibat_toy_lod0.glbtaxibat_toy_lod1.web.glbtaxibat_toy_lod2.glb
Material slots
- body The fascia, the band and the canopy, in the line colour
- roof The hull and the cabin, white
- trim Strakes, frames and fittings, black
- sign The saloon's windows, lit from inside
- glass The wheelhouse windows
- wheel The teak bathing platform
- interior Railings and arches in stainless steel
- door The door to the foredeck
- plate The grey band, the waterline and the decks
- indicator The life ring, orange
- headlight A searchlight and lamps, can be lit
What takes the line colour is set in code. The names are the same in all three formats.
The map demo
The map demo reads its settings from the address, so a link keeps them.
| Parameter | Meaning | Example |
|---|---|---|
vehicle | The vehicle's id; without it, the city bus. The ferries, the boats, the aeroplane and the helicopter are not shown on the map yet | vehicle=minibus |
options | The vehicle's options, separated by commas | options=slide_l |
kids | Kids mode: the toy | kids=1 |
theme | dark or light; without it the page follows the system | theme=light |
bus | The vehicle's colour, hex without #; in kids mode the toy is coloured too | bus=e5484d |
dekor | The vehicle's wrap by name, or ingen (none); without it, it wears its own | dekor=vagen |
tema | A theme with props and a wrap, as in the configurator | tema=jul |
line | The line's colour, hex without # | line=2eb67d |
Words we use
- Film, web and map marker
- The vehicle's three formats from the same model. Sometimes called LOD0, LOD1 and LOD2.
- Sprite, marker picture
- A rendered picture of the vehicle at one heading and tilt, for maps that can only show pictures.
- Bearing
- The compass direction the vehicle is heading, in degrees clockwise from north.
- m/pt
- The map's scale at the vehicle: metres a screen point. The thresholds for arrow and bus are counted in it.
- Material slot
- A named material in the model, such as
bodyorglass, that code can colour.